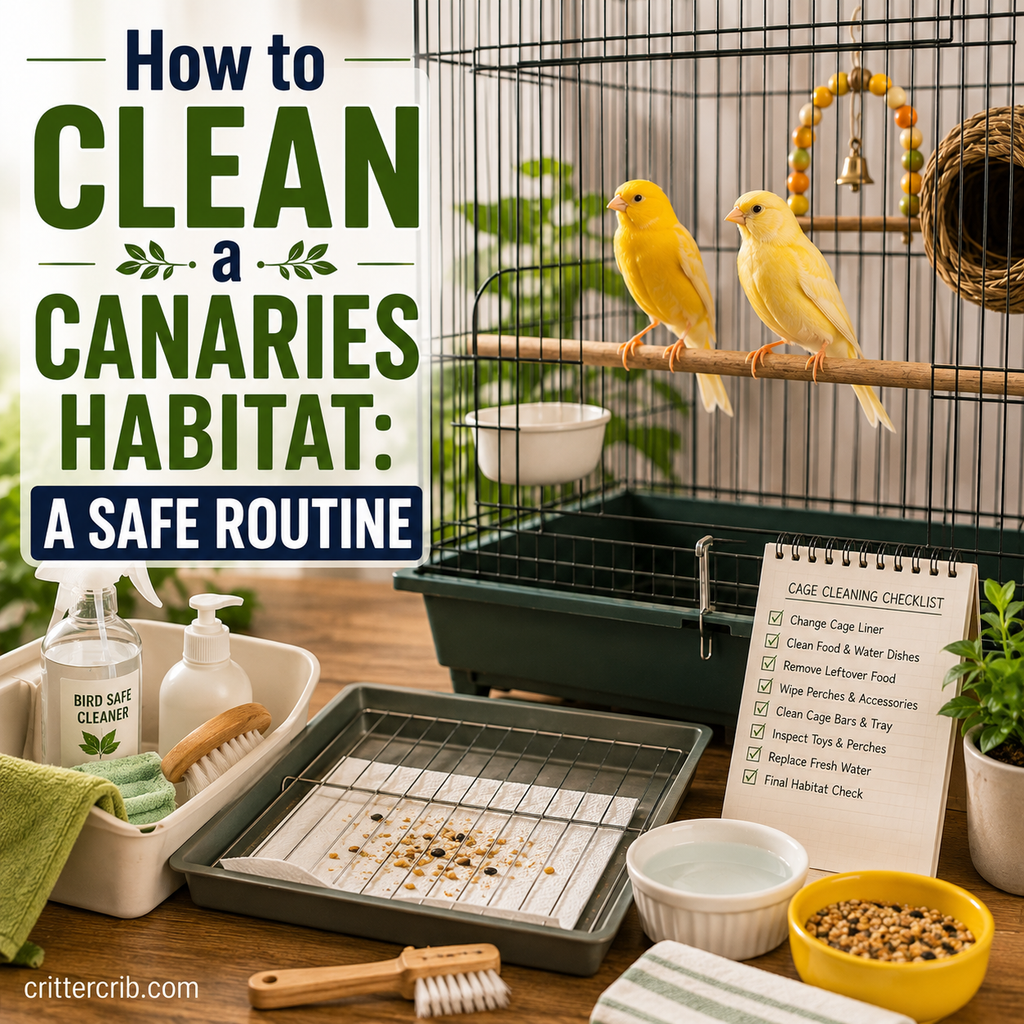
Canaries may be tiny, but they can create an impressive amount of mess. Seed hulls collect around the cage, feathers drift onto nearby furniture, food gets scattered, and droppings quickly build up on liners and favorite perches.
Fortunately, keeping a canary’s habitat clean doesn’t have to mean scrubbing the entire cage every day.
The easiest approach is a routine: take care of food, water, liners, and obvious messes daily, then give the cage a more thorough cleaning about once a week. This keeps waste from building up and gives you regular opportunities to inspect the cage, perches, dishes, and accessories.
Cleaning also has another benefit that’s easy to overlook. When you regularly change the cage liner and wash feeding areas, you become familiar with what’s normal for your bird. Changes in droppings, appetite, or the amount of food being eaten may become easier to notice.
Here’s how to clean a canary’s habitat safely, what supplies you’ll need, and which cleaning mistakes are best avoided.
Why Regular Canary Cage Cleaning Matters
A bird cage naturally collects organic material throughout the day.
That includes:
- Droppings
- Seed hulls
- Discarded food
- Feathers
- Feather dust
- Moisture
- Pieces of vegetables or fruit
- Debris from toys and perches
Leaving these materials in the cage for too long can create unpleasant conditions and make the enclosure more difficult to clean later.
Fresh foods deserve particular attention because they can spoil much more quickly than dry food.
Regular cleaning also lets you inspect areas you might not otherwise notice.
You may discover:
- A damaged perch
- Frayed toy material
- A cracked food dish
- Loose cage hardware
- Rust
- Food stuck between cage bars
- Hidden debris underneath the tray
- A water container that needs extra cleaning
Think of cleaning as part housekeeping and part routine habitat inspection.
How Often Should You Clean a Canary Cage?
Not every part of the cage needs to be scrubbed every day.
Breaking the job into daily and weekly tasks makes the routine much more manageable.
Daily Canary Cage Cleaning
Every day, generally:
- Replace the cage liner
- Wash food dishes
- Wash and refill the water container
- Remove leftover fresh food
- Clean obvious droppings from accessible surfaces
- Check the bird bath
- Sweep or vacuum around the cage
- Inspect heavily used perches
If your canary is particularly messy, some of these jobs may need to be done more than once a day.
Water, for example, should be replaced whenever it becomes contaminated.
Weekly Canary Cage Cleaning
About once a week, give the habitat a more thorough cleaning.
This can include:
- Wiping or washing cage bars
- Cleaning the bottom tray
- Cleaning the grate
- Scrubbing soiled perches appropriately
- Cleaning washable toys
- Washing feeding stations
- Cleaning underneath the cage
- Wiping down the cage stand
- Inspecting accessories for damage
The exact schedule isn’t rigid.
A large cage housing one canary may stay cleaner than an enclosure containing several birds. Diet, cage layout, bathing habits, and the type of liner you use can also affect how quickly the habitat becomes dirty.
If something needs cleaning sooner, clean it sooner.
Supplies for Cleaning a Canary Cage
You don’t need an entire cabinet of specialty products.
A simple cleaning kit can include:
- Warm water
- Clean cloths
- Paper towels
- Small scrub brush
- Dedicated dish brush
- Small brush for cage corners
- Fresh cage liners
- Broom and dustpan
- Handheld or regular vacuum
- Bird-appropriate cleaning product when needed
Keep brushes and cloths used for your canary’s cage separate from items used to clean bathrooms, kitchen counters, or human dishes.
Having dedicated supplies also makes the routine faster because everything you need can be stored together.
Which Cleaning Products Are Safe Around Canaries?
Birds have sensitive respiratory systems, so cleaning products require more caution around canaries than they might around many other pets.
For everyday messes, warm water and physical scrubbing can handle a surprising amount.
When a cleaning product is necessary, use one appropriate for bird environments and follow its instructions.
Be cautious with:
- Aerosol cleaners
- Strong fragrances
- Air fresheners
- Scented disinfectant sprays
- Harsh household chemicals
- Products that leave significant residues
Never spray household cleaner into an occupied cage.
Even products marketed as “natural” shouldn’t automatically be assumed safe for birds. Natural substances can still produce irritating fumes or contain ingredients inappropriate for avian environments.
For more intensive cleaning, move your canary to a secure enclosure in another safe area.
How to Clean a Canary Cage Step by Step
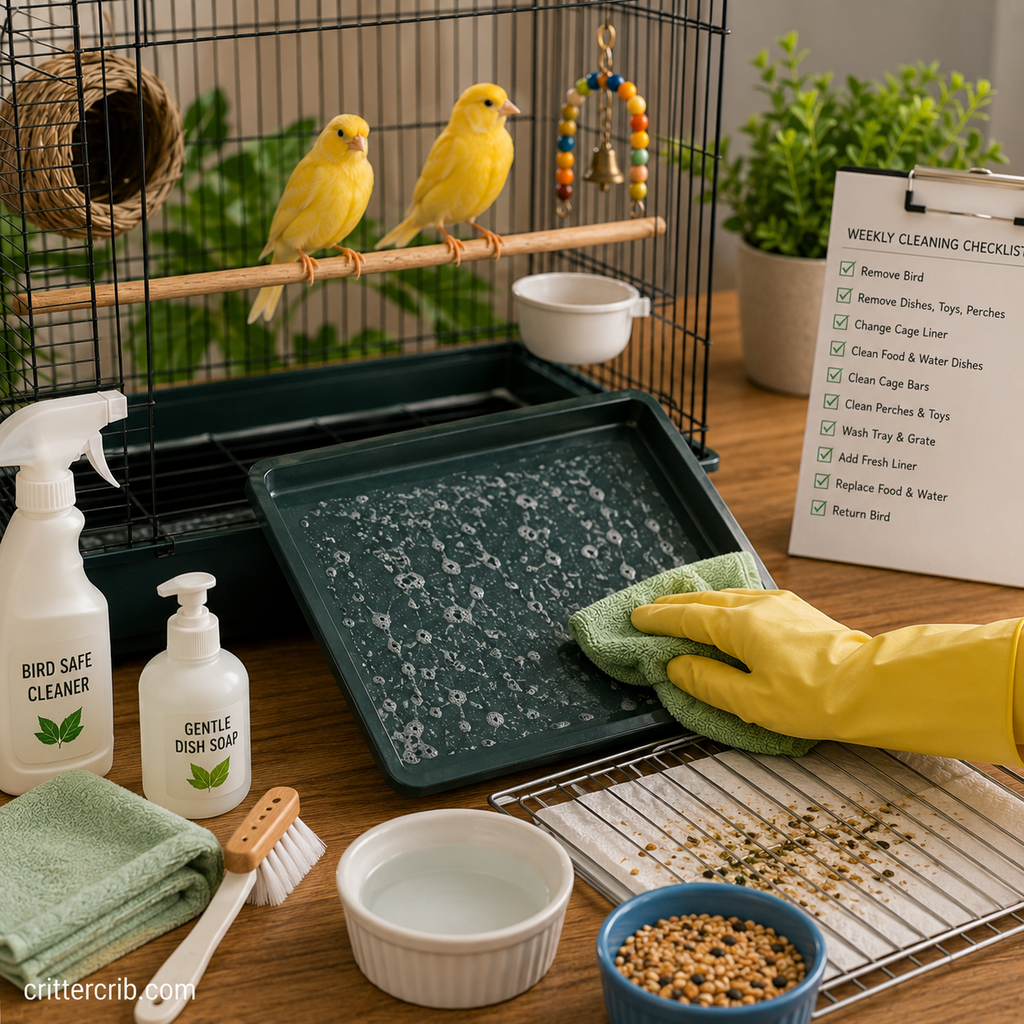
Following the same order each time can make weekly cleaning considerably faster.
1. Move Your Canary Somewhere Secure
For small daily tasks, such as changing a liner, you may not need to remove your canary.
A deeper cleaning is different.
If you’ll be removing perches, scrubbing bars, using cleaning products, or moving large cage components, place your canary in a secure temporary enclosure.
A suitable option might be:
- Travel carrier
- Spare bird cage
- Other secure bird enclosure
Make sure doors and latches are closed before you begin cleaning.
Keeping the bird away from the immediate cleaning area also reduces exposure to disturbed dust and cleaning products.
2. Remove Food and Water Containers
Take out the food and water dishes.
Discard old food and water, then wash the containers thoroughly.
Pay attention to corners and edges where food residue can collect.
Rinse dishes well and allow them to dry appropriately before refilling.
Don’t put yesterday’s food back into a freshly cleaned container.
3. Remove Toys, Baths, and Removable Perches
Take out accessories that need cleaning or that will interfere with access to the cage.
These may include:
- Bird bath
- Swings
- Toys
- Removable perches
- Feeding accessories
Don’t assume everything should be soaked together.
Different materials need different cleaning methods.
Plastic, stainless steel, rope, natural wood, and woven materials may all require different care.
Follow manufacturer instructions where available.
4. Remove the Dirty Cage Liner
Carefully remove the cage liner without scattering loose debris.
Before throwing it away, take a quick look at your canary’s droppings.
You don’t need to analyze every dropping. The goal is simply to become familiar with your bird’s normal pattern so that persistent changes are easier to recognize.
If you notice a significant or lasting change in droppings along with changes in appetite, behavior, breathing, or activity, contact an avian veterinarian.
5. Remove Loose Debris
Cleaning wet surfaces covered in loose seed hulls isn’t much fun.
Remove dry debris first.
Brush, vacuum, or wipe away:
- Feathers
- Seed hulls
- Dried food
- Loose droppings
- Dust
- Toy debris
Pay special attention to corners, door tracks, and the area underneath the bottom tray.
These spots can hide more debris than the visible parts of the cage.
6. Clean the Cage Bars
Canaries regularly interact with cage bars, particularly around feeding stations and favorite perches.
Wipe the bars from top to bottom.
Warm water can help soften dried material before scrubbing.
Pay extra attention to:
- Cage corners
- Door openings
- Feeding doors
- Bar intersections
- Areas around favorite perches
If you’re using a cleaning product, follow its directions for dilution, rinsing, contact time, and ventilation.
Make sure no inappropriate cleaning residue remains on surfaces your canary may touch.
7. Wash the Bottom Tray and Grate
The bottom of the cage collects much of the habitat’s waste.
Remove the tray and grate if the cage design allows it.
Dispose of the liner, remove loose material, and clean the surfaces thoroughly.
Dried droppings may come off more easily after being softened with warm water.
Don’t forget the edges and corners of the tray.
Allow everything to dry before installing a fresh liner.
8. Clean the Perches
Perches can become dirty surprisingly quickly, especially those used for sleeping.
The appropriate cleaning method depends on the material.
Washable manufactured perches can generally be cleaned according to their care instructions.
Natural wood needs more attention because it can absorb moisture.
If you clean a wooden perch, allow it to dry completely before returning it to the cage.
While cleaning, inspect each perch for:
- Cracks
- Splinters
- Sharp areas
- Heavy contamination
- Excessive wear
- Loose mounting hardware
Replace a perch if it’s damaged or can no longer be cleaned effectively.
9. Clean the Bird Bath
Many canaries enjoy bathing, which means the bath can become contaminated quickly.
Discard used bath water and clean the container before refilling it.
Never assume bath water is suitable drinking water simply because it still looks relatively clear.
Birds may introduce food, droppings, feathers, and other debris while bathing.
If you only offer the bath during certain periods of the day, remove it afterward and clean it before the next use.
10. Inspect and Clean Toys
Not every toy needs intensive cleaning every week.
Instead, inspect toys and clean them as necessary.
Look for:
- Frayed fibers
- Loose threads
- Broken pieces
- Sharp edges
- Loose hardware
- Heavy contamination
- Places where a foot or head could become trapped
Some toys are washable, while natural or woven materials may need different care.
Replace anything that’s becoming unsafe.
11. Allow Everything to Dry
Don’t rush this step.
Putting damp wood, liners, toys, or cage components back together can trap unwanted moisture.
Allow cleaned items to dry thoroughly.
Once the cage and accessories are ready, you can rebuild the habitat.
12. Add a Fresh Cage Liner
Plain paper and paper towels are convenient liner options because they’re inexpensive and easy to replace.
They also make droppings easy to see.
Place the fresh liner securely in the bottom tray.
If your cage has a grate, the liner will usually sit underneath it where the canary can’t directly reach it.
Avoid loose or dusty bedding materials unless specifically recommended for your setup by an avian professional.
13. Reassemble the Habitat
Return the clean perches, dishes, bath, and appropriate toys.
You don’t need to completely rearrange everything every week.
Keeping important resources in familiar locations can make the environment more predictable.
Make sure your canary still has:
- Easy access to food
- Easy access to fresh water
- Comfortable resting perches
- Open horizontal movement space
- Appropriate enrichment
Check every door and latch before returning your bird.
How to Clean Food and Water Dishes
Food and water containers deserve daily attention.
Water can quickly become contaminated even when it looks relatively clean.
Wash bowls every day and provide fresh water.
If you offer vegetables, greens, egg food, fruit, or other perishable items, use a clean dish and remove leftovers before they spoil.
Stainless-steel bowls are convenient because they’re durable and relatively easy to wash.
Whatever material you use, replace dishes that become:
- Cracked
- Damaged
- Heavily scratched
- Difficult to clean
Avoid positioning food and water directly beneath perches whenever possible.
Cleaning Around the Canary Cage
A perfectly clean cage can still be surrounded by a small mountain of seed hulls.
Canaries naturally scatter lightweight debris.
Regularly clean:
- Floor beneath the cage
- Cage stand
- Nearby baseboards
- Nearby furniture
- Wall immediately behind the cage
- Areas beneath nearby furniture
A washable floor mat beneath the cage can make maintenance easier.
A handheld vacuum is also useful for quick daily cleanup.
If your canary is nervous around a vacuum cleaner, introduce the sound gradually rather than turning it on directly beside the cage without warning.
How to Reduce Mess Around a Canary Cage
You can’t completely eliminate mess, but you can keep it manageable.
Try these simple habits:
- Replace cage liners every day.
- Remove old fresh food promptly.
- Sweep or vacuum small messes before they accumulate.
- Use appropriately sized food containers.
- Position feeding stations thoughtfully.
- Place a washable mat beneath the cage.
- Avoid overcrowding the enclosure with difficult-to-clean accessories.
- Keep dedicated cleaning supplies nearby.
Five minutes of daily maintenance can save considerably more time later.
Can You Use Vinegar to Clean a Canary Cage?
Diluted vinegar is sometimes used for routine household bird-cage cleaning, but it shouldn’t be treated as universally appropriate for every cleaning situation.
If you use it, keep your bird away from the cleaning area, provide good ventilation, and rinse surfaces appropriately.
Never mix vinegar with bleach or other household cleaning chemicals.
Vinegar also isn’t a substitute for an appropriate disinfectant when actual disinfection is required.
If you’re dealing with illness, parasites, or another situation requiring disinfection, ask an avian veterinarian which product and procedure are appropriate.
Can You Use Bleach Around Canaries?
Bleach requires substantial caution around birds because of fumes and the risk of residue if it’s used incorrectly.
It’s generally unnecessary for everyday cage cleaning.
If a veterinarian recommends disinfection with a particular product, follow the specified dilution, contact time, rinsing, ventilation, drying, and safe re-entry instructions.
Never use strong chemicals around an occupied cage.
And never mix bleach with vinegar, ammonia, or other cleaning products.
Should You Disinfect a Canary Cage Every Week?
Routine cleaning and disinfection aren’t exactly the same thing.
Cleaning physically removes food, droppings, dirt, and other organic material.
Disinfection is intended to reduce or eliminate particular microorganisms.
For normal everyday habitat maintenance, thorough regular cleaning is generally the priority. Constantly applying harsh disinfectants isn’t automatically better.
Disinfection may become important in certain circumstances, such as illness or disease-control situations.
In those cases, consult your avian veterinarian about an appropriate protocol.
Common Canary Cage Cleaning Mistakes
A few mistakes can make habitat cleaning less effective or unnecessarily risky.
Waiting Until the Cage Smells
A bird cage shouldn’t need to develop an odor before it’s cleaned.
Daily maintenance prevents buildup.
Using Strong Fragrances
A “fresh linen” or lemon scent doesn’t make a cage healthier.
Your goal is a clean environment, not a perfumed one.
Spraying Cleaner Near the Bird
Avoid creating airborne droplets and fumes around your canary.
Move the bird to a safe location for more involved cleaning.
Ignoring Water Containers
Clean water is a daily priority.
Replace it whenever it becomes contaminated, even if you’ve already changed it once that day.
Putting Damp Items Back Into the Cage
Allow cage components and accessories to dry thoroughly before reassembly.
Forgetting to Inspect Accessories
A clean toy can still be unsafe if it’s frayed or broken.
Use cleaning time as inspection time.
Simple Canary Cage Cleaning Schedule
A predictable routine keeps the workload manageable.
Every Day
- Replace cage liner
- Wash food dish
- Wash and refill water container
- Remove leftover fresh food
- Check and clean the bath
- Spot-clean obvious droppings
- Sweep or vacuum surrounding debris
- Observe droppings and general cage condition
Every Week
- Clean cage bars
- Wash bottom tray
- Clean grate
- Clean soiled perches
- Clean toys as appropriate
- Clean cage stand
- Vacuum or wash underneath the cage
- Inspect accessories and cage hardware
Periodically
Perform a more detailed inspection for:
- Rust
- Loose bars
- Damaged doors
- Faulty latches
- Worn perches
- Frayed toys
- Cracked dishes
- Difficult-to-remove buildup
Replace anything that can no longer be used safely.
Frequently Asked Questions
How Often Should I Change My Canary’s Cage Liner?
Changing the liner daily is a good routine.
It prevents waste from accumulating and allows you to regularly observe your canary’s droppings.
Replace it sooner if it becomes heavily soiled.
How Often Should I Deep Clean a Canary Cage?
A thorough cleaning about once a week works well for many canary habitats, alongside daily maintenance.
Clean more frequently whenever conditions require it.
What Is the Best Canary Cage Liner?
Plain paper or paper towels are simple choices.
They’re inexpensive, easy to replace, and make it easy to observe droppings.
Should I Remove My Canary While Cleaning?
You may be able to perform quick tasks such as liner changes without moving your bird.
For a thorough cleaning involving cage disassembly or cleaning products, placing your canary in a secure temporary enclosure away from the cleaning area is usually the better approach.
How Often Should I Clean Canary Food and Water Bowls?
Food and water containers should be cleaned daily.
Water should also be replaced whenever it becomes contaminated.
Bowls used for fresh or perishable foods should be cleaned after use.
Why Is There So Much Seed Around My Canary’s Cage?
Canaries remove hulls from seeds as they eat, and the lightweight hulls can easily scatter outside the cage.
A floor mat and regular vacuuming or sweeping can make this much easier to manage.
Can I Use Scented Cleaning Products Around My Canary?
It’s best to avoid unnecessary fragrances, aerosol sprays, and strongly scented cleaning products around birds.
Choose simple cleaning methods or products specifically appropriate for bird environments.
Final Thoughts
Keeping a canary’s habitat clean is much easier when you don’t allow the mess to accumulate.
Start with a simple daily routine. Replace the liner, clean food and water containers, remove old fresh food, check the bird bath, and deal with obvious messes.
Then, about once a week, give the enclosure more attention. Clean the bars, tray, grate, perches, and surrounding area while checking toys and cage components for wear.
You don’t need to fill your cleaning cabinet with powerful chemicals. For routine maintenance, removing debris and keeping surfaces, dishes, and liners clean is the priority. When additional cleaning products or disinfection are necessary, use bird-appropriate methods and keep your canary safely away from fumes and sprays.
Most importantly, use cleaning time to observe.
A fresh liner lets you see your bird’s droppings. A clean bowl makes food consumption easier to monitor. Inspecting a perch might reveal damage before it causes a problem.
Once daily maintenance becomes a habit, keeping a canary’s habitat fresh and comfortable takes far less effort than tackling a neglected cage all at once.