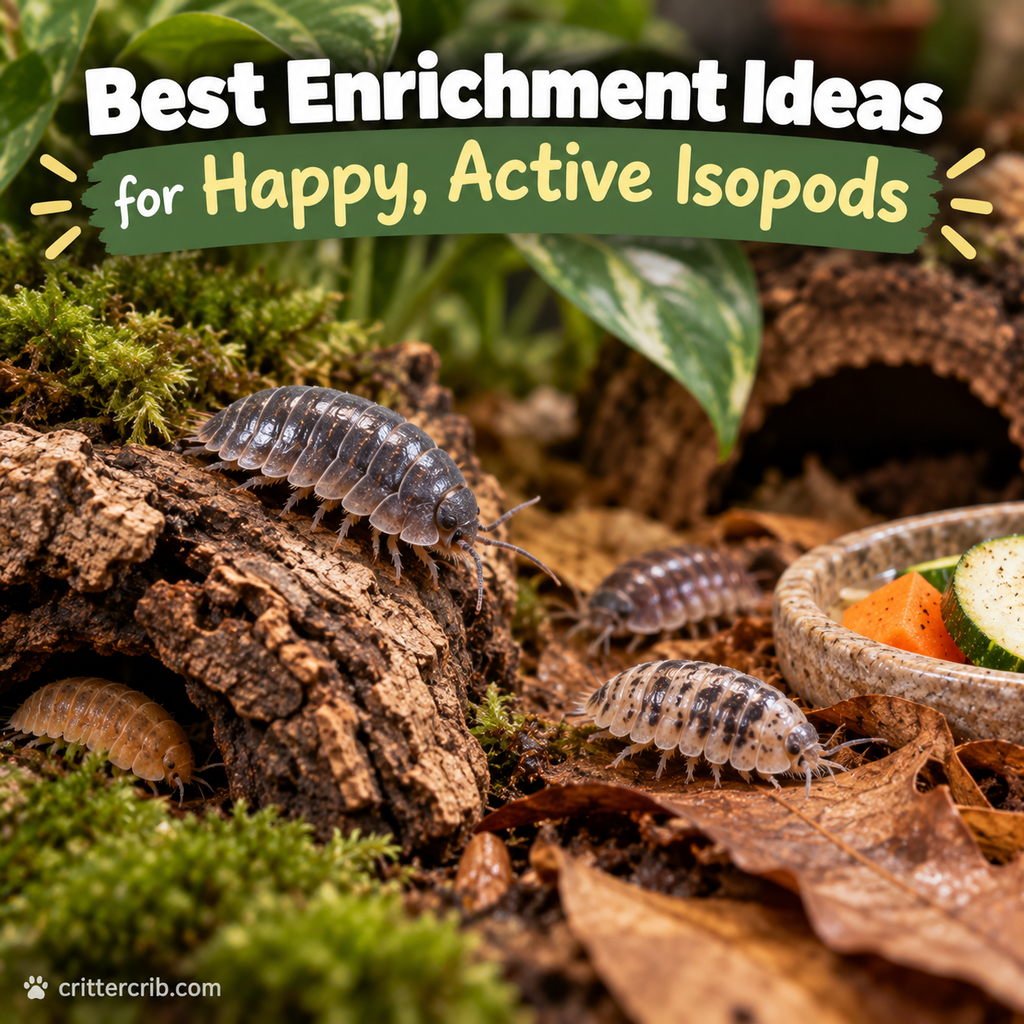
Isopods aren’t exactly known for demanding entertainment. You won’t find them chasing toys around their enclosure or waiting at the glass for playtime. But that doesn’t mean their environment should be an empty container with a little substrate and food.
For isopods, enrichment is mostly about creating opportunities to behave naturally.
A well-designed enclosure gives them places to hide, climb, burrow, forage, gather together, and move between different moisture levels. Many of the best enrichment ideas aren’t really “toys” at all. They’re natural materials that make the habitat more complex and interesting.
The good news is that isopod enrichment can be simple and inexpensive. A piece of cork bark, a generous layer of leaves, decaying wood, and varied terrain can transform an ordinary enclosure into a much more naturalistic habitat.
Here’s how to create an enriching setup while still keeping your isopods’ basic care needs front and center.
Do Isopods Need Enrichment?
Isopods don’t need enrichment in exactly the same way a highly social or intelligent mammal might. However, environmental complexity allows them to perform behaviors they would naturally use in the wild.
Depending on the species, those behaviors may include:
- Burrowing
- Hiding
- Climbing
- Foraging
- Feeding on decomposing material
- Seeking moisture
- Moving between microclimates
- Gathering beneath cover
- Exploring the enclosure
A completely bare enclosure limits those opportunities.
Enrichment shouldn’t replace proper husbandry. Correct moisture, ventilation, substrate, nutrition, temperature, and calcium availability are more important than decorative additions.
Think of enrichment as part of good habitat design rather than a collection of toys.
Start With a Deep, Natural Substrate
One of the easiest ways to enrich an isopod enclosure is beneath their feet.
Isopods interact directly with the substrate. Some species spend considerable time digging into it, while others remain closer to the surface.
A suitable substrate can also become part of their food source as organic materials gradually break down.
Depending on the species and setup, substrate mixtures may contain materials such as:
- Organic topsoil
- Decayed wood
- Leaf compost
- Sphagnum moss
- Other safe organic material
Avoid soil containing pesticides, synthetic fertilizers, or other chemicals that could harm your colony.
Depth matters too.
Providing enough substrate for digging gives isopods another dimension to explore rather than forcing all activity to occur on the surface.
Add Plenty of Leaf Litter
If there’s one natural material that deserves a permanent place in an isopod enclosure, it’s leaf litter.
Leaves serve multiple purposes.
They provide:
- Food
- Cover
- Moisture retention
- Foraging opportunities
- Microhabitats
- A more natural surface
Rather than adding only a few decorative leaves, consider maintaining a substantial layer.
Hardwood leaves commonly used in isopod setups include:
- Oak
- Maple
- Beech
- Magnolia
The exact leaves available to you will depend on where you live.
Whatever you collect should come from an area you can reasonably trust hasn’t been treated with pesticides, herbicides, roadside chemicals, or other contaminants.
As the leaves break down and disappear, add more.
Create Different Leaf-Litter Depths
You don’t have to spread everything perfectly evenly.
Try creating deeper piles in some areas and thinner coverage in others.
This produces little pockets where isopods can:
- Crawl underneath leaves
- Gather together
- Search for food
- Retreat from light
- Choose different moisture levels
An enclosure doesn’t need to look perfectly organized. Nature certainly isn’t.
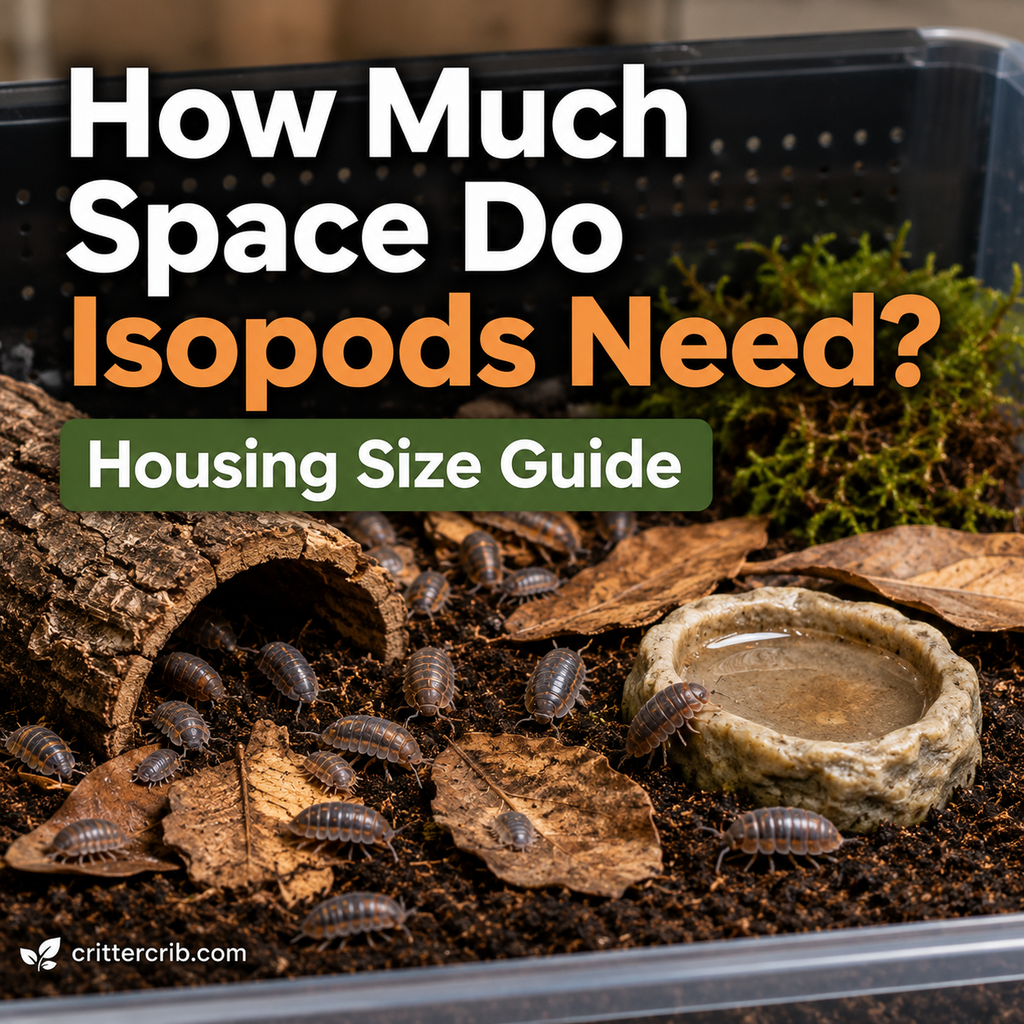
Use Cork Bark as Hides
Cork bark is one of the most useful materials you can add to an isopod enclosure.
A flat piece resting over the substrate creates a dark, protected space where isopods can congregate.
Lift it carefully and you may find a large portion of your colony underneath.
Cork bark is useful because it:
- Creates hiding areas
- Adds surface area
- Holds up well in humid environments
- Provides climbing opportunities
- Helps create darker microhabitats
You can use flat pieces, curved pieces, or a combination.
Try placing some bark flat against the substrate while leaning another piece at an angle. This creates different spaces without making the enclosure overly complicated.
Add Decaying Wood
Rotten hardwood is both habitat and food for many isopods.
Soft, decomposing wood resembles material they would encounter naturally on a forest floor and encourages feeding and exploration.
Good pieces can provide:
- Edible organic matter
- Hiding places
- Climbing surfaces
- Moisture-retaining pockets
- Texture variation
The key word is decaying.
A decorative piece of hard, freshly cut wood isn’t the same as soft, decomposed hardwood.
Choose material from safe sources and avoid wood exposed to pesticides, preservatives, paint, stain, or other chemicals.
Create a Moisture Gradient
One of the most useful forms of environmental enrichment is giving isopods choices.
Instead of keeping every centimeter of the enclosure equally wet, create a moisture gradient appropriate for your species.
One side can remain more consistently moist while another stays comparatively drier.
This allows the isopods to move according to their needs.
A common arrangement is:
Moist side:
- Damp substrate
- Sphagnum moss
- Leaf litter
- Cover or bark
Drier side:
- Less frequently moistened substrate
- Dry leaf litter
- Bark
- Feeding area
The exact balance depends on the species.
Some isopods tolerate or prefer drier conditions than others, while moisture-dependent species need more consistently humid microhabitats.
The important point is choice.
Make a Moss Hideaway
Sphagnum moss can be useful for maintaining a humid refuge.
Rather than mixing moss everywhere, you can concentrate it in one section of the enclosure. Keep this area appropriately moist so isopods have somewhere to retreat when they need higher humidity.
Add bark or leaf litter over part of the moss to create an even more sheltered microhabitat.
You may find isopods gathering:
- Beneath the moss
- Between moss and bark
- Along the edge of the damp zone
- Under leaves covering the moss
Moss shouldn’t replace a suitable substrate, but it can be a useful tool for creating variation within the enclosure.
Create Small Tunnels and Crevices
Isopods naturally seek tight, dark spaces.
You can create these with materials you may already be using.
Try arranging:
- Cork bark
- Decaying wood
- Curved bark pieces
- Leaf piles
Leave small gaps underneath and between materials.
There’s no need to build elaborate tunnel systems. In fact, simpler arrangements are often easier to inspect and maintain.
Make sure anything heavy is stable. You don’t want a large piece shifting unexpectedly while you’re working in the enclosure.
Add Safe Climbing Opportunities
Not every isopod species is an enthusiastic climber, but many will explore textured surfaces.
Angled cork bark and pieces of wood create simple climbing opportunities.
You might arrange a piece so one end rests on the substrate and the other sits slightly higher against another piece of bark.
Keep climbing structures relatively low and stable.
The goal isn’t to build an isopod skyscraper. You’re simply increasing usable surface area and giving the colony different textures and elevations to investigate.
Build a Foraging Zone
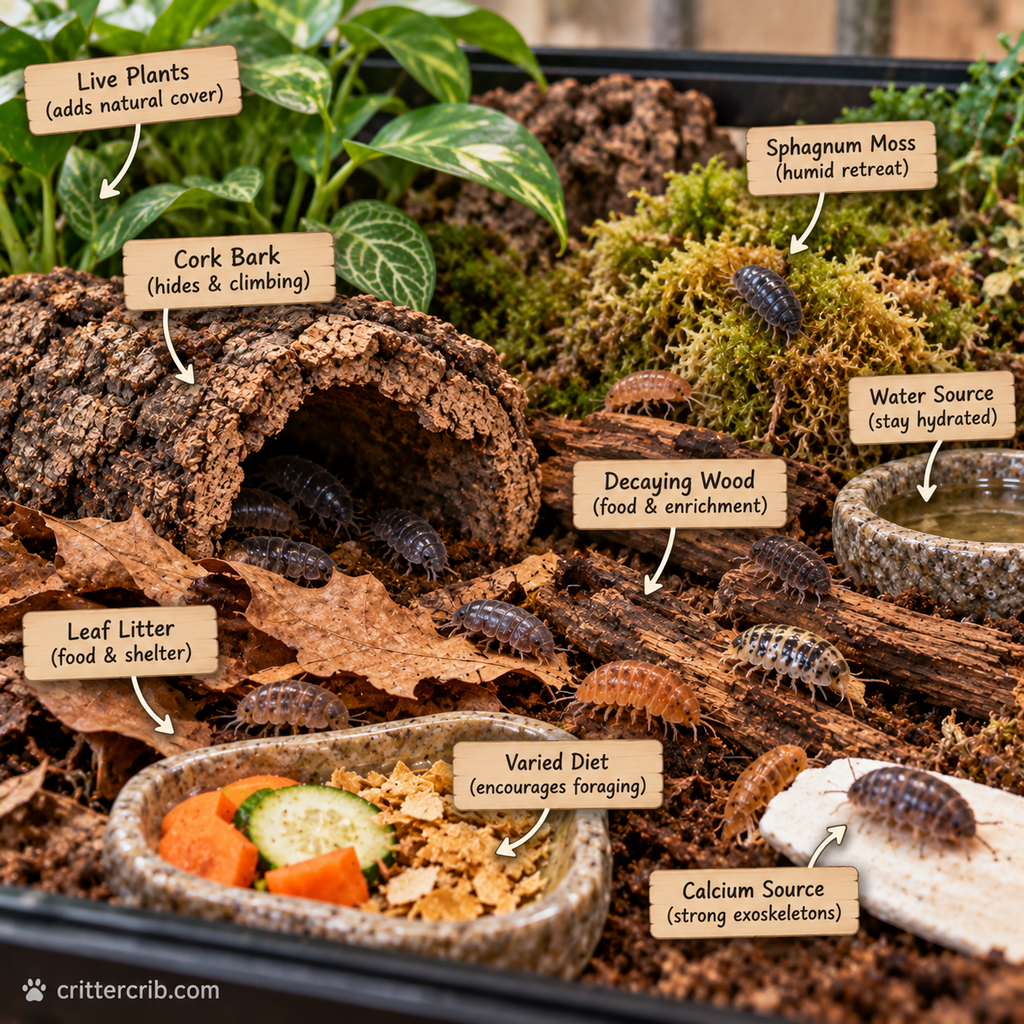
Instead of always placing supplemental food in exactly the same location, occasionally change how it’s presented.
You might:
- Place small food portions beneath leaves.
- Put food near a piece of bark.
- Scatter tiny amounts across a limited area.
- Offer different safe foods on different days.
- Place food near both open and sheltered areas.
This encourages exploration while still allowing you to monitor and remove leftovers.
Don’t scatter large amounts of perishable food throughout the substrate. You’ll make cleanup difficult and may encourage mold or pests.
A little variation goes a long way.
Rotate Supplemental Foods
Dietary variety can double as enrichment.
Leaf litter and decaying plant material should form an important part of the diet for many commonly kept isopods, but supplemental foods can introduce different smells and textures.
Depending on the species and your husbandry approach, small amounts of suitable foods may include:
- Fish flakes or other protein sources
- Dried shrimp
- Vegetables
- Squash
- Carrot
- Sweet potato
- Mushroom
- Calcium sources
Offer small quantities.
Isopods don’t need a buffet large enough for a guinea pig.
Remove fresh foods if they begin to spoil, and avoid letting excess supplemental food overwhelm the enclosure.
Experiment With Food Texture
You can also vary texture.
For example, the colony might encounter:
- Thin vegetable slices
- Small dried foods
- Crushed foods
- Soft decomposing leaves
- Harder leaf material
Watch how the colony responds.
Observing which foods attract your isopods can become one of the more interesting parts of keeping them.
Provide a Reliable Calcium Source
Calcium is important for the development and maintenance of an isopod’s exoskeleton.
Keeping a calcium source available also gives them another material to graze on as needed.
Common options include:
- Cuttlebone
- Crushed eggshell
- Oyster shell
- Other keeper-approved calcium sources
Cuttlebone is especially convenient because a piece can remain in the enclosure and be replaced as it is consumed.
Calcium isn’t really a toy, of course. But good enrichment begins with giving animals access to resources that support natural biological needs.
Add Seed Pods and Natural Objects Carefully
Seed pods, small pieces of bark, and other natural materials can make an enclosure more structurally interesting.
They may create:
- Hiding spaces
- Climbing surfaces
- Shaded areas
- Crevices
- New textures
However, “natural” doesn’t automatically mean safe.
Avoid anything that may have been:
- Sprayed with pesticides
- Collected near heavily trafficked roads
- Chemically treated
- Painted
- Preserved
- Exposed to unknown contaminants
You also don’t need to pack the enclosure with decorations.
Leave enough room for routine maintenance and observation.
Let Plants Add Natural Complexity
Live plants can work in some isopod enclosures, especially bioactive displays.
Plants introduce:
- Roots
- Shade
- Leaf surfaces
- Moisture variation
- Additional cover
- Natural debris
But don’t become too attached to perfect landscaping.
Some isopods may nibble plants, disturb roots, or rearrange the substrate around them.
Hardy plants suited to the enclosure’s environmental conditions are usually better choices than delicate specimens.
Also remember that plant care and isopod care need to be compatible. A plant that requires constantly saturated soil may not work well for an isopod species needing a distinct dry zone.
Encourage Natural Decomposition
A healthy isopod enclosure is a tiny decomposition system.
Rather than trying to keep everything looking freshly sanitized, allow safe organic materials to break down naturally.
Leaves soften.
Wood decomposes.
Microorganisms establish themselves.
Isopods feed on this material and contribute to the decomposition process.
That doesn’t mean ignoring hygiene. Moldy supplemental food, excessive waste, or obvious problems should still be addressed.
The goal is a functioning miniature ecosystem—not a sterile display box.
Consider Adding Springtails
Springtails are commonly kept alongside isopods in bioactive setups.
These tiny organisms consume mold and decomposing organic material and can help support the enclosure’s cleanup processes.
They also occupy the habitat differently from isopods, contributing to a more complete micro-ecosystem.
Springtails won’t fix poor enclosure maintenance, however.
You still need to:
- Avoid overfeeding
- Remove spoiled food
- Maintain appropriate moisture
- Provide ventilation
- Monitor the enclosure
Think of springtails as useful residents rather than a replacement for husbandry.
Give Isopods Dark Places to Retreat
Isopods generally prefer sheltered areas over being constantly exposed.
An enclosure with nowhere to hide can limit their ability to retreat from light and environmental changes.
Fortunately, creating shade is easy.
Use:
- Cork bark
- Leaf litter
- Wood
- Moss
- Natural crevices
Try to provide more than one hiding area.
This allows individuals to distribute themselves throughout the enclosure rather than forcing the entire colony under a single piece of bark.
Don’t Constantly Rearrange the Enclosure
Adding enrichment is good.
Rebuilding the enclosure every few days isn’t necessary.
Isopods establish themselves within the microhabitats you create. Constantly moving every piece of bark, digging through the substrate, and disturbing the colony can defeat the purpose of providing secure hiding areas.
It’s fine to inspect the colony occasionally.
Just don’t turn every inspection into a renovation project.
Let them settle in.
Observe Your Isopods After Dark
Want to see whether your enrichment is actually being used?
Check the enclosure after the room has been dark for a while.
You may notice much more activity than you see during the day.
Depending on the species, isopods may emerge to:
- Explore
- Feed
- Climb
- Move between hides
- Gather around food
- Travel across leaf litter
A dim light can help you observe without blasting the enclosure with bright illumination.
Watching nighttime activity is also a good way to learn what parts of the habitat your colony prefers.
Enrichment Ideas for Display Isopod Enclosures
If your isopods live in a display enclosure, you can create something that’s attractive for you while remaining functional for them.
Try arranging the habitat in layers.
For example:
- Create a deep substrate base.
- Establish a dedicated moist zone.
- Cover much of the surface with leaf litter.
- Add a large central piece of cork bark.
- Position decaying wood nearby.
- Add moss around the humid area.
- Include smaller bark pieces and natural objects.
- Leave some open space where you can observe feeding.
The result can resemble a miniature forest floor.
The enclosure doesn’t need to be perfectly symmetrical. Uneven surfaces and overlapping natural materials often create more useful microhabitats.
Enrichment Ideas for Different Isopod Species
Not every species behaves exactly the same way.
An enrichment setup for Porcellio species may look somewhat different from one designed for Cubaris, Armadillidium, or other groups.
Differences can include:
- Moisture preferences
- Burrowing behavior
- Climbing behavior
- Activity level
- Ventilation requirements
- Substrate use
- Preferred hiding areas
This is why species-specific research matters.
General isopod advice provides a starting point, but you should adjust the habitat based on the species you’re actually keeping.
What Should You Avoid in an Isopod Enclosure?
Enrichment should make the habitat safer and more functional, not introduce unnecessary risks.
Avoid adding:
- Painted decorations that may flake
- Chemically treated wood
- Pesticide-contaminated leaves
- Fertilized or chemically treated soil
- Sharp objects
- Unstable heavy decorations
- Materials that easily trap isopods
- Large amounts of rapidly spoiling food
- Random outdoor materials from questionable locations
Be cautious with scented or chemically treated craft materials as well.
When choosing between a flashy artificial decoration and a piece of safe cork bark, the cork bark will usually provide more practical value to the colony.
Signs Your Isopods Are Using Their Environment
You don’t need to see constant movement to know an enclosure is working.
Healthy isopods may spend a lot of time hidden.
Signs they’re actively using the habitat can include:
- Tunnels or disturbed substrate
- Isopods beneath multiple hides
- Feeding damage on leaves
- Decaying wood gradually disappearing
- Individuals moving between moisture zones
- Activity around supplemental food
- Juveniles appearing throughout the substrate
- Increased nighttime activity
Finding most of the colony under bark during the day isn’t necessarily a problem.
That bark is doing exactly what it’s there to do.
Simple Isopod Enrichment Setup for Beginners
If you’re new to isopods, don’t overcomplicate things.
Start with the essentials.
A simple enriched enclosure might contain:
- Several inches of appropriate substrate.
- A substantial layer of leaf litter.
- One consistently moist area with sphagnum moss.
- A comparatively drier area.
- Cork bark for shelter.
- Pieces of safe decaying hardwood.
- A calcium source.
- Occasional supplemental foods.
That’s already a highly functional environment.
As you observe your colony, you can gradually adjust the layout based on where they spend their time.
Frequently Asked Questions About Isopod Enrichment
Do isopods need toys?
Not in the traditional sense. Natural habitat features such as leaf litter, cork bark, decaying wood, deep substrate, and varied moisture levels provide more useful enrichment by encouraging natural behaviors.
Do isopods like to climb?
Some isopods will climb bark, wood, plants, and other textured surfaces. How much climbing you observe varies by species. Low, stable climbing structures can increase usable surface area without making the enclosure complicated.
Do isopods need places to hide?
Yes. Isopods naturally seek dark, protected areas. Cork bark, leaf litter, moss, and decaying wood can all create useful hiding spaces.
Can isopods live with live plants?
Yes, isopods are frequently kept in planted and bioactive enclosures. Choose plants that tolerate the same environmental conditions as your isopods, and keep in mind that some isopods may nibble or disturb plants.
Is leaf litter enough enrichment for isopods?
Leaf litter is extremely valuable, but combining it with substrate depth, bark, decaying wood, moisture variation, and other natural materials creates a more complex environment.
How often should I change isopod enrichment?
You generally don’t need to change it frequently. Replace materials such as leaf litter and decaying wood as they’re consumed, maintain the moisture gradient, and make adjustments when necessary. Constantly rearranging the habitat isn’t required.
Can I use sticks and leaves from outside?
Potentially, but collection location matters. Avoid materials that may have been exposed to pesticides, herbicides, fertilizers, roadside pollution, or other contaminants. Properly identify and prepare collected materials before introducing them to an established colony.
Why are my isopods always hiding?
Hiding is normal isopod behavior. Many species spend daylight hours beneath bark, leaves, and other cover and become more active when it’s dark. Constant visibility isn’t necessarily a sign of a better enclosure.
Final Thoughts
The best enrichment ideas for isopods are surprisingly simple.
You don’t need miniature toys or elaborate accessories. Instead, give your colony a habitat that allows them to do what isopods naturally do: burrow, hide, forage, climb, eat decomposing material, and choose the microclimate that feels right.
Start with good substrate and plenty of leaf litter. Add cork bark, decaying wood, a moist retreat, calcium, and a few different textures and hiding places. Rotate supplemental foods occasionally and let the enclosure develop naturally.
Most importantly, pay attention to your colony.
If your isopods are exploring at night, gathering beneath hides, feeding on leaves and wood, reproducing, and moving throughout the enclosure, they’re already showing you which parts of their environment work.
Sometimes the best enrichment isn’t something new you add.
It’s simply giving tiny animals enough of the right environment to behave like themselves.